Washing Machine wiring

Repair of the washing machine and the shock of current when the washing machine is running!
Friends, in this post, I am going to tell you how you will do the wiring of the washing machine and how to repair it.
Friends, it happens many times that in your house the mother is washing clothes with a flowing washing machine and she is given a current. Shock starts which is very dangerous, so how do we make sure that where this current is coming from? First of all what will we do is take a series board They will touch one wire at the point of the washing machine from the board of that series and make it sparking at the other wire body, then if the sparking is coming, then understand that our motor is short somewhere and if not sparking If it is happening, then understand that the motor is fine. Now the motor is bad or right, how will we verify it. We will open the back panel of the washing machine and the wash motor If we disconnect two wires or three wires from the wiring of that motor, we will disconnect all the three wires and then put a series board on it and check if the motor is shorted, then we will send the motor for repair or if new If we are in a position to install, we will replace the new motor! And if we want to repair the same, then we will separate the motor from the body and then open it and send it for winding or if we are able to do it ourselves, we will do it and then put it back in its place. It will happen and then the shock of the current will end. Friends, similarly we will check the motor with the screen if the current is not leaking from that motor, if the current is leaking from that motor. He will do the same by opening the windings and then he will fit his place back. Now the question is, how to do its wiring, friends, let me tell you that on the back panel of the washing machine.
you will see a bunch of wires, now we have I do not understand how to check its wiring, which wire is to be installed or was engaged, if you are unaware of it, then take its photo first and then If you have forgotten or many times the mice have mutated, then you do not understand how to fix its wiring,
so there are many videos on YouTube in that period. You can also watch them or my YouTube channel Benefits for all Peoples, link:https://www.youtube.com/channel/UCQwZbY5azu5yih4T9HyJxnw
you know that many videos related to the washing machine are mine, you can see them by the way, I am telling you which wires will be connected and now see all Three stars of the first lead go towards the back panel of the washing machine. 3 wires have a green colored wire which is tight with the body. Now the remaining two wires can be any color of both the wires. If you assume a white and a black, then you give the white and black wire to the wire of the motor, then the motor
Will go direct. (You can see in the photo below where the arrow where the arrow is attached is all the stars joint, all of it is color voice joint above the joint)
4
But by braking and redirecting this wire, which is the swing switch above and the washing switch, disconnect them both and then connect them there and then it has to come down and connect to the motor, then the simple answer is I am giving the first wire which is your white wire and the wire of a spin motor and the wire of a washing motor ie three wires. Gather all the three wires together and see once again a wire with a white of lead or you can make either of them on either side. Take a wire, be it white or black, let's take the white wire. Let's take a white wire and a motor can also be white wire or cream color and a screened wire and a washing wire are all three assembled, then the other three inside the assembled wire If we want to add a buzzer that has a buzzer on top of the washing machine, the white wire of that buzzer will also be connected with these three wires to become a 4 wire point, this will become 1 point of four wires. The black with one wire lead is left, now how to carry it. Now we will turn around while redirecting that black wire. I will add another wire and I will add another wire. The housing will connect to the timer switch, then another wire will be connected to the black wire of the same lead and this wire will go up in the safety switch and then a wire will come back from the second point of the safety switch, the wire will go into the spin timer. What is Safety Switch? Safety Speech is because when you turn on the spin, the safety speech works as soon as you open its cover. And this spinner gets braked and it stops this spinner, then as soon as you get the news of this spinner down, that is, then the safety switch then connects and the spinner's brake opens again and If the spinner starts running again, then this is the work of the safety switch, now what happens again, which I told above which safety sweet goes out of a wire and goes to the Spain timer and then the spinner works It is now through a wire safety suite of lead, it reached the spin timer, then from there, a wire from the other point is now coming down, then it was connected inside one of the 3 wires inside this pin motor. Will go
Now in the same way another wire will be added to the black wire of the lead and that wire will then be connected from bottom to top in the wash timer then return 2wire from the wash timer which will be connected inside a wire motor to run right and one wire To move left inside the motor, the wash will be connected inside the motor in such a way that this black wire is disconnected i.e. both the motor going down from inside the timer from the inside of the direction. What has been saved in ours, now our capacitor wire has survived, that is, four stars have survived with capacitors. Now, where will these four stars connect, two of these four wires will go towards a motor and the wire which will go towards a motor i.e. Now inside the motor with spin and motor, let me tell you what it means to have four wires inside a capacitor. This means that two capacitors are combined in one capacitor so that one A becomes one capacitor for each motor. Now the capacitor of the inhabited motor is of 8 mfd and the capacitor of the motor with this pin is of 6 m FDD. The number of these capacitors may be more or less according to the washing machine. Some may have 4-6, some may have 6-8 and some may have anything depending on the capacitor of the motor.
Now, two of these four wires will connect with the two wires of the motor with a wash, which one is different, which one is connected above the capacitor, if you look carefully then you will know that the number is more It will be connected in a wire wash motor and the number which will be less will be connected in a motor with wire spin, that is, in a spin motor with 6 mfd and in a motor with a wash with 8 mfd. She was connected.
So friends, if you still do not understand this entire wiring, then you can comment by asking me how you felt about this post. Please tell me and motivate me so that I can serve you guys. Thank you very much for reading the post.
Washing machine की repairing और वाशिंग मशीन चलते समय current का झटका लगना !
दोस्तों मैं इसरार अहमद सिद्दीकी इस पोस्ट में मैं यह बताने वाला हूं कि वाशिंग मशीन की वायरिंग आप कैसे करेंगे और उसकी रिपेयरिंग कैसे करेंगे दोस्तों कई बार ऐसा होता है के आपके घर में मां बहने वाशिंग मशीन से कपड़ा धो रही होती है और उनको करंट का शॉक लगने लग जाता है जो कि बेहद खतरनाक होता है तो हम कैसे सुनिश्चित करें कि यह करंट कहां से आ रहा है सबसे पहले हम क्या करेंगे के एक सीरीज़ का बोर्ड लेंगे उस सीरीज़ के बोर्ड से वाशिंग मशीन के पलग के पॉइंट पर एक वायर को टच करेंगे और दूसरी वायर बॉडी पर स्पार्किंग कराएंगे फिर देखते हैं अगर स्पार्किंग आ रही है तो समझ लें की हमारी मोटर कहीं ना कहीं शार्ट कर रही है और अगर स्पार्किंग नहीं हो रही है तो यह समझे कि मोटर ठीक है अब मोटर खराब है या ठीक है उसे हम कैसे वेरीफाई करेंगे हम वाशिंग मशीन के बैक पैनल को खोलेंगे और जो वाश वाली मोटर होती है उस मोटर की वायरिंग से दो वायर को या तीन वायर उसमें होती है तीनों वााएरों को हम डिस्कनेक्ट करेंगे और फिर उसके ऊपर सीरीज़ का बोर्ड लगा कर चेक करेंगे अगर मोटर शार्ट हो गई है तो हम मोटर को रिपेयर के लिए भेज देंगे या अगर नया हम लगाने की स्थिति में है तो नया रिप्लेस कर देंगे मोटर! और अगर उसी को रिपेयर करवाना चाहते हैं तो मोटर को बॉडी से अलग कर लेंगे और फिर उसको खोल करके वाइंडिंग के लिए भेज देंगे या अगर हम खुद कर पाए तो वेंडिंग कर ले फिर उसको अपनी जगह वापस लगा देंगे इस तरह से वह मोटर हमारी फिट हो जाएगी और फिर करंट का shock आना खत्म हो जाएगा दोस्तों इसी तरह स्पीन वाली मोटर को भी हम चेक करेंगे कि उस मोटर से तो कहीं करंट लीक नहीं कर रहा है अगर उस मोटर से करंट लीक कर रहा है तो उसे भी यही करेंगे खोलकर वाइंडिंग करवाएंगे और फिर वापस अपनी जगह फिट कर देंगे अब रहा सवाल कि इसकी वायरिंग कैसे करेंगे तो दोस्तों मैं आप को बता देता हूं कि वाशिंग मशीन के बैक पैनल के तरफ आप देखेंगे बहुत सारे तारों का गुच्छा है अब उसमें हमें समझ में नहीं आता कि हम कैसे इसकी वायरिंग को चेक करें कौन सा तार कहां लगनी है या लगी हुई थी अगर आप इसके बारे में अनजान है तो उसका फोटो पहले आप ले ले और अगर आप भूल गए हैं या कई बार होता है चूहों ने कुतर दिया होता है तो आपको समझ नहीं आती कि कैसे हम इसकी वायरिंग को ठीक करें तो उस पीरियड में यूट्यूब पर बहुत सारे वीडियोस हैं आप उन्हें भी देख सकते हैं या मेरे चै नल बेनिफिट्स फॉर ऑल पीपुल्स मैं जा कर के आप वाशिंग मशीन से रिलेटेड कई सारे वीडियोस मेरे हैं आप उन्हें देख सकते हैं वैसे मैं आपको बतला दे रहा हूं कि कौन सी वायर कहां जुड़ेंगे अब देखिए सबसे पहले लीड की तीन तारे वाशिंग मशीन के बैक पैनल की तरफ जाती है 3 तारों में एक ग्रीन कलर की तार अर्थ की होती है जो बॉडी के साथ टाइट की हुई होती है अब बची दो वायर यह दोनों वायर का कलर कोई सा भी हो सकता है आप एक वाइट और एक ब्लैक मान लीजिए तो वाइट और ब्लैक वायर को अब आप मोटर की वायर में देंगे तो मोटर
डायरेक्ट चल पड़ेगी। (आप नीचे फोटो में देख सकते हैं जहां जहां arrow लगा हुआ है वह सब तारों की जॉइंट है यह सब जॉइंट के ऊपर कलर वॉइस जॉइंट की गई है)

लेकिन हमें इस वायर को ब्रेक करके इनडायरेक्ट करके ऊपर जो स्विंग की स्विच है और वॉशिंग की स्विच है उन दोनों से डिस्कनेक्ट करते हुए फिर वहां पर कनेक्ट करें और फिर उसको नीचे आकर के मोटर से कनेक्ट करना होता है तो इसका आसान सा जवाब मैं आपको दे रहा हूं कि सबसे पहले जो आपकी वाइट वाली वायर है लीड की उस वायर को और एक स्पिन वाली मोटर की वायर को और एक वाशिंग वाली मोटर की वायर को यानी तीन वायर हो गई इन तीनों वायरों को इकट्ठी करके जोड़ दीजिए एक बार फिर से देख लीजिए लीड की वाइट वाली एक वायर या आप अपनी तरफ से कोई सा भी उन दोनों में से बना सकते हैं एक वायर ले लीजिए वाइट हो या ब्लैक हो, चलिए हम वाइट वायर को ले लेते हैं वाइट वायर और एक मोटर की भी वाइट वायर या क्रीम कलर की हो सकती है और एक स्पीन वाली wire और एक वॉशिंग वाली वायर तीनों को इकट्ठे जोड़ दिया फिरउसी तीनों इकट्ठी की गई वायर के अंदर एक और वायर हमें जोड़नी है जो Buzzer की होती है वाशिंग मशीन में ऊपर एक buzzer लगा होता है उस Buzzer की भी वाइट वायर इन तीनों वायरों के साथ जुड़कर के 4 वायरों वाला पॉइंट बन जाएंगे यह चार वायरों का 1 पॉइंट बन जाएगा अब हमें क्या करना है एक वायर लीड वाली जो ब्लैक है वह बची हुई है अब उसे कैसे ले जाना है अब उस ब्लैक वायर को इनडायरेक्ट करते हुए हम चारों तरफ घूमाएंगे lead की black वाली wire मैं एक और वायर जोड़ेंगे और वह वायर ऊपर वास टाइमर वाली स्विच में जुड़ जाएगी फिर एक और वायर इसी लीड की ब्लैक वायर में जोड़ेंगे और यह वायर ऊपर सेफ्टी स्विच में चली जाएगी और फिर सेफ्टी स्विच की दूसरी प्वाइंट से एक तार वापस आएगी वह तार स्पिन टाइमर में चली जाएगी यह बीच में सेफ्टी स्विच क्या है सेफ्टी स्पीच इसलिए है कि जब आप स्पिन चालू करते हैं तो उसका कवर जैसे ही आप ऊपर करते हैं यानि खोलते हैं उस वक्त यह सेफ्टी स्पीच काम करता है और इस स्पिनर में ब्रेक लग जाता है और वह इस स्पिनर रुक जाता है फिर जैसे ही आप इस स्पिनर का खबर डाउन करते हैं यानि बंद करते हैं तो सेफ्टी स्विच फिर आपस में कनेक्ट हो जाता है और फिर से spinner का brake खुल जाता है और फिर से स्पिनर दौड़ने लग जाता है तो यह तो रहा सेफ्टी स्विच का काम, अब फिर क्या होता है जो ऊपर मैंने बतलाया किस सेफ्टी स्वीट से एक वायर निकल कर के स्पेन टाइमर में जाता है और फिर स्पिनर काम करता है अब यह तो लीड की एक वायर सेफ्टी स्वीट से होता हुआ स्पिन टाइमर में पहुंचा फिर वहां से दूसरे पॉइंट से एक वायर अब नीचे की तरफ आने वाला है वह फिर इस पिन मोटर के अंदर 3 तारों में से एक तार के अंदर जोड़ दिया जाएगा
अब इसी तरह लीड की ब्लैक वायर में एक और वायर जोड़ा जाएगा और वह वायर फिर नीचे से ऊपर की तरफ वाश टाइमर में जाकर जोड़ दिया जाएगा फिर वाश टाइमर से वापसी 2wire आएगा जो एक वायर मोटर के अंदर राइट चलने के लिए जुड़ेगा और एक वायर मोटर के अंदर लेफ्ट चलने के लिए जुड़ेगा वाश मोटर के अंदर इस तरह से यह ब्लैक वाली तार डिस्कनेक्ट हो करके यानी इनडायरेक्ट होकर के ऊपर से टाइमर के अंदर से होती हुई नीचे दोनों मोटरों में आ गई अब क्या बच गया हमारा कैपेसिटर का वायर बच गया यानी चार तारे कैपेसिटर वाली बच गई अब यह चारों तारे कहां कहां जुड़ेंगे इन चारों में से दो वायर एक मोटर की तरफ जाएगी और जो वायर एक मोटर की तरफ जाएगी यानी वास वाली मोटर और स्पिन वाली मोटर के अंदर अब मैं आपको यह बतला दूं कि एक कैपेसिटर के अंदर चार वायर होने का क्या मतलब है मतलब यह है कि एक कैपेसिटर में दो कैपेसिटर जॉइंट की गई है ताकि एक एक मोटर के लिए एक-एक कैपेसिटर हो जाए अब वास वाली मोटर के कैपेसिटर 8 एमएफडी का होता है और इस पिन वाली मोटर का कैपेसिटर 6 m एफ डी का होता है। इन कैपेसिटरों का नंबर वाशिंग मशीन के हिसाब से कम ज्यादा भी हो सकता है किसी में 4-6 तो किसी में 6-8 और किसी में कुछ भी हो सकता है यह डिपेंड करता है मोटर की कैपेसिटर कैसी है?
अब इन चारों वायरों में से दो वायर वाश वाली मोटर की दो वायरों के साथ जुड़ेंगे एक एक अलग अलग कौन सी वाली किधर जुड़े गी वह कैपेसिटर के ऊपर लिखा हुआ होता है आप उसे ध्यान से देखेंगे तो पता चल जाएगा मतलब यह कि जो नंबर ज्यादा होगा वह वायर वाश वाली मोटर में जुड़े गी और जो नंबर कम होगा उसकी वायर स्पिन वाली मोटर में जुड़े गी, यानी 6 एमएफडी वाला स्पीन मोटर में जुड़े गी और 8 एमएफडी वाला वाश वाली मोटर में जुड़े गी।
तो दोस्तों यह पूरी वायरिंग अगर आप को फिर भी समझ नहीं आया तो आप मुझे कमेंट करके पूछ सकते हैं यह पोस्ट आपको कैसा लगा जरूर मुझे बताएं और मुझे मोटिवेट करें ताकि मैं आप लोगों को सेवा कर सकूं पोस्ट पढ़ने के लिए बहुत-बहुत धन्यवाद।
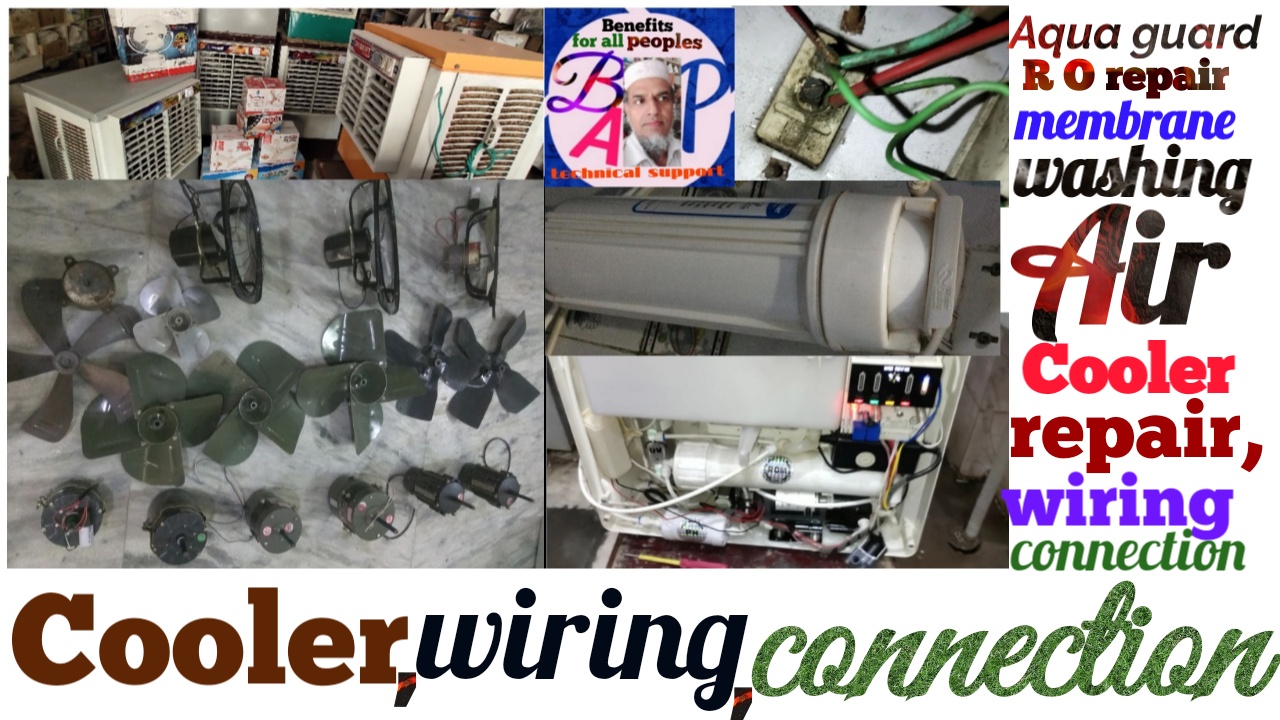
Air cooler wiring connection,regulator wiring, vibration of air cooler, ceiling fan vibration, motorcycle maintenance, R O water purifier Pipelines connection,wiring connection Booster Pump repairing etc. iskey alawa Washing Machine ki wiring connection aur repairing, in saree cheezo ke baare mein jankariya dene wala hoon.
Please do not enter any spam link in the comment box. ConversionConversion EmoticonEmoticon